One of the joys of digital post-processing for me is I get to pretend I can paint by creating images worthy of a canvas! By applying layers of textures to a photo and with much experimentation and tweaking, the photographic image can be manipulated to have more of a "painterly look". It allows me to create mood, change colour tones, manipulate the background to put all the focus on the subject...and it's just plain fun! It's always an experiment as every photo and every texture and every way of blending the two creates a different result. It's a case of fiddling and fine tuning until I'm happy with the result.
Animals were the first thing I started texturing and are immortalised with great elegance by the process.
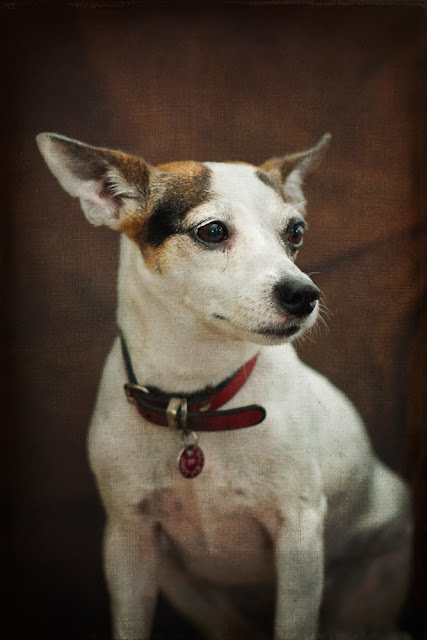
This image of my boy Oscar is one of my favourites. The textures give him a very soft appearance which complements his nature. The other effect was to subdue the bright colours of the sofa which allows all the attention to be on the beautiful subject.
This photograph was taken by Dilshara of her dog, Murphy. I textured it for her and it printed up beautifully onto canvas.

Another of Dilshara's photos that I textured
Beautiful Ruby is hard to photograph as her eyes are so often covered by hair - a tip for dog's with long hair is to make sure the hair is out of their eyes before you take the shot, othrerwise they have a tendency to look like a toilet brush!
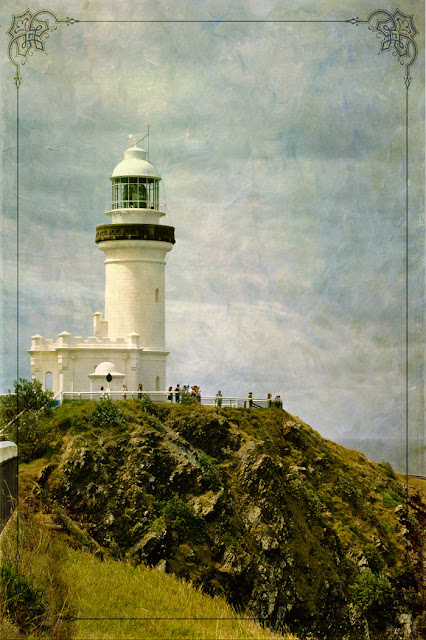
Landscapes are wonderful to texture and I think it gives them a timeless quality.

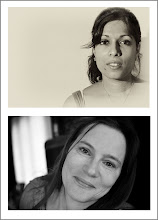
People are much trickier and often the texture is more about creating a border or adding a change in colour tone to the image.
If you are interested in us creating a unique portrait of your pet that will last a lifetime and certainly be a talking point in your home, contact us at mindseyephoto@hotmail.com
LB


